

One day a butcher, one day a pasta man, a baker, a pastry chef and, yes, one day a chocolatier.
Trying to mix things up and keep life interesting, I made chocolate pralines to decorate a coffee granita dessert (summer here).
Pralines are straightforward if you have the right equipment and know what you are doing. If you have no clue, it’s better to buy a nice box of Belgian pralines the next time you pass through duty free.
A fundamental technique of chocolate making is the tempering of the chocolate before using it: altering its molecular and crystal structure. Tempering chocolate is much the same as tempering steel to be able to ‘work it’. The heating and cooling and reheating make the material malleable and ensures it becomes strong in the case of steel, and shiny and hard in the case of chocolate. If you don’t temper chocolate before use, it will remain a dull and uninviting mass.
Ingredients and tools
For chocolate:
- Polycarbonate praline mould
- 333 g quality chocolate, 54-57%
- 20 g cocoa butter
- 70 g extra-finely chopped chocolate for cooling
- Plastic leveller
For filling:
- 100 g fondant
- 10 g Grand Marnier liqueur
Method
On a bain marie and using a thermometer, melt and heat chocolate to between 50° and 55°C. Remove the chocolate from the bain marie at around 47°C and start stirring it to cool. It will carry on to 51-52°C. If it passes 52°C, slowly add chopped chocolate for cooling, to prevent it going over 55°C, and stir until the temperature of the chocolate reaches 29°C. (The finely chopped chocolate brings the temperature of the chocolate down more quickly.) Return the bowl with the chocolate to the bain marie for a brief moment to allow the chocolate to reach 31°C. Remove from the heat quickly and stir vigorously to prevent the temperature exceeding 32°C.
Once the chocolate has been tempered, everything has to be done at speed before the chocolate cools.
Pour the tempered melted chocolate over your praline mould and, using the plastic leveller, remove all excess chocolate into a bowl. Turn the mould upside down over the bowl and allow all the excess chocolate in the cavities of the mould to drip out. This leaves a super thin coating of chocolate inside the individual praline cavities. Place the mould level on a shelf in the freezer while you prepare the filling.
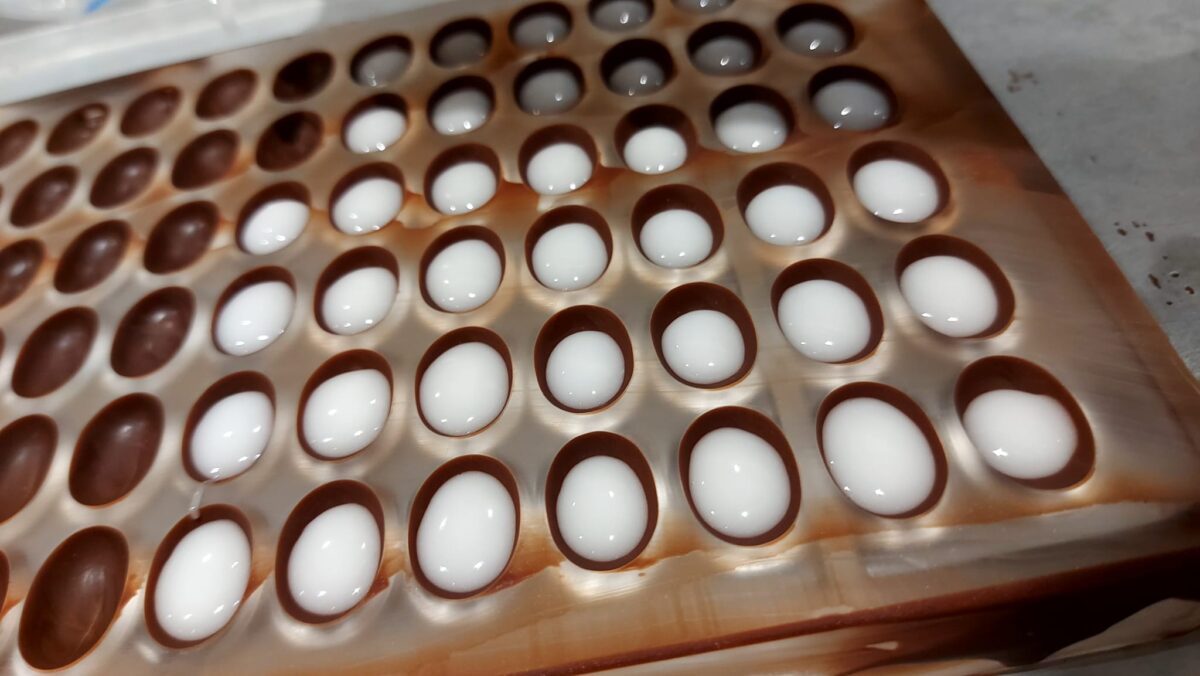
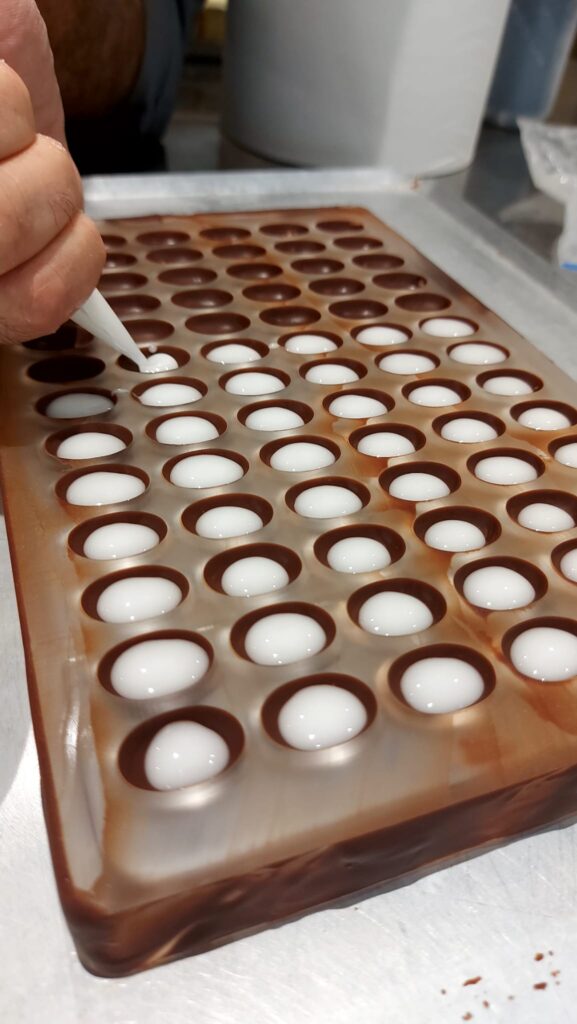
This particular filling is simple: purchased white fondant with alcohol added. Once mixed, put into a plastic piping bag, cut a very small hole, remove the mould from the freezer and pipe the filling into each cavity. Return to the freezer . Place the leftover chocolate in the bowl back on the bain marie to melt for the base of the praline. The underside of the praline doesn’t have to be tempered as it is never visible. Once melted, pour over the mould, covering the filling. Using the plastic leveller, remove all excess chocolate and return the mould to the freezer for several hours.
Once frozen, remove the mould from the freezer, turn upside down and bang the edge of the mould on the table. The pralines should all fall out.
Now if you’re well-heeled and you don’t enjoy all of this frenetic, messy activity, you can simply purchase a chocolate tempering machine which does it all without any mess and keeps the chocolate melted and at the right temperature for you.


If you enjoyed this recipe why not share it with your friends via social media or e-mail? If you want a copy of your own select the print option at the top of the page.